The holiday season is a time filled with joy, love, and sharing. Just the thought of it makes you feel a child-like excitement that’s impossible to replicate.
But did you know that it’s also one of the best times of the year to unleash your creativity by making your ornaments?
There’s truly something about the festive season that inspires us to be more imaginative. Making your ornament isn’t just a great way to show off your skills. It’s also a way to make something truly special for you and those around you.
Whether you’re a woodworker, an artist, or just someone who loves arts and crafts, you can create something unique and beautiful to hang on your tree, decorate your home, or give as a gift.
The possibilities are endless when it comes to creating homemade holiday decorations. In this article, we’ll let you in on a few of our favorite ideas and techniques to inspire your creations.
What are Custom Ornaments?
Custom ornaments are holiday decorations that are handmade and personalized to fit a particular theme or occasion. These ornaments can be made from a variety of materials that can be designed to represent anything from an individual’s favorite hobby to a special moment in their life.
The beauty of custom ornaments is that they are one of a kind. Because of this, it becomes a reflection of your personality and creativity. They are a perfect addition to any holiday décor and can easily become cherished keepsakes for years to come.
Related: Best Christmas Ornament Ideas for 2023
Best Types of Custom Ornaments
To give you some ideas on what types of custom ornaments you can make, we’ve compiled a list of some of the best options
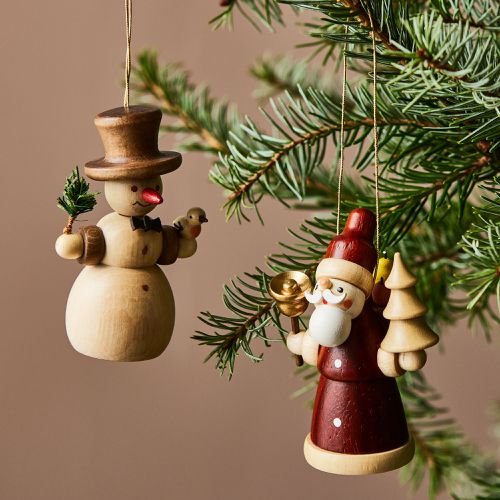
Traditional Ornaments
These ornaments are perfect for those who love the classic look of the holiday season. Because they have been used for centuries and decades, traditional ornaments have a timeless appeal and will fit any setting or decoration.
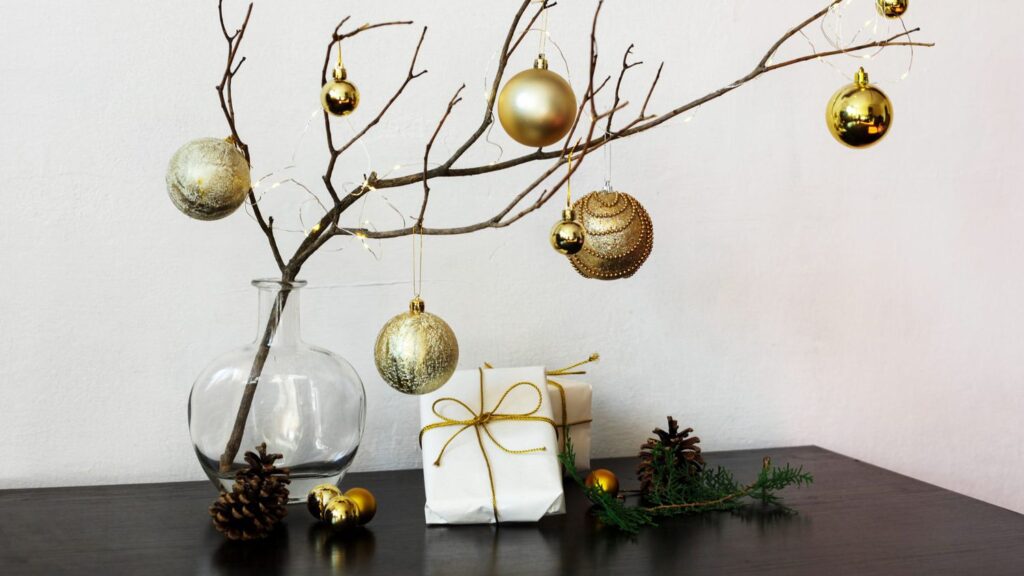
From snowflakes to candy canes, there are many classic designs that you can transform in your unique way.
Personalized ornaments
Personalized ornaments are a great way to make the holiday season extra special.
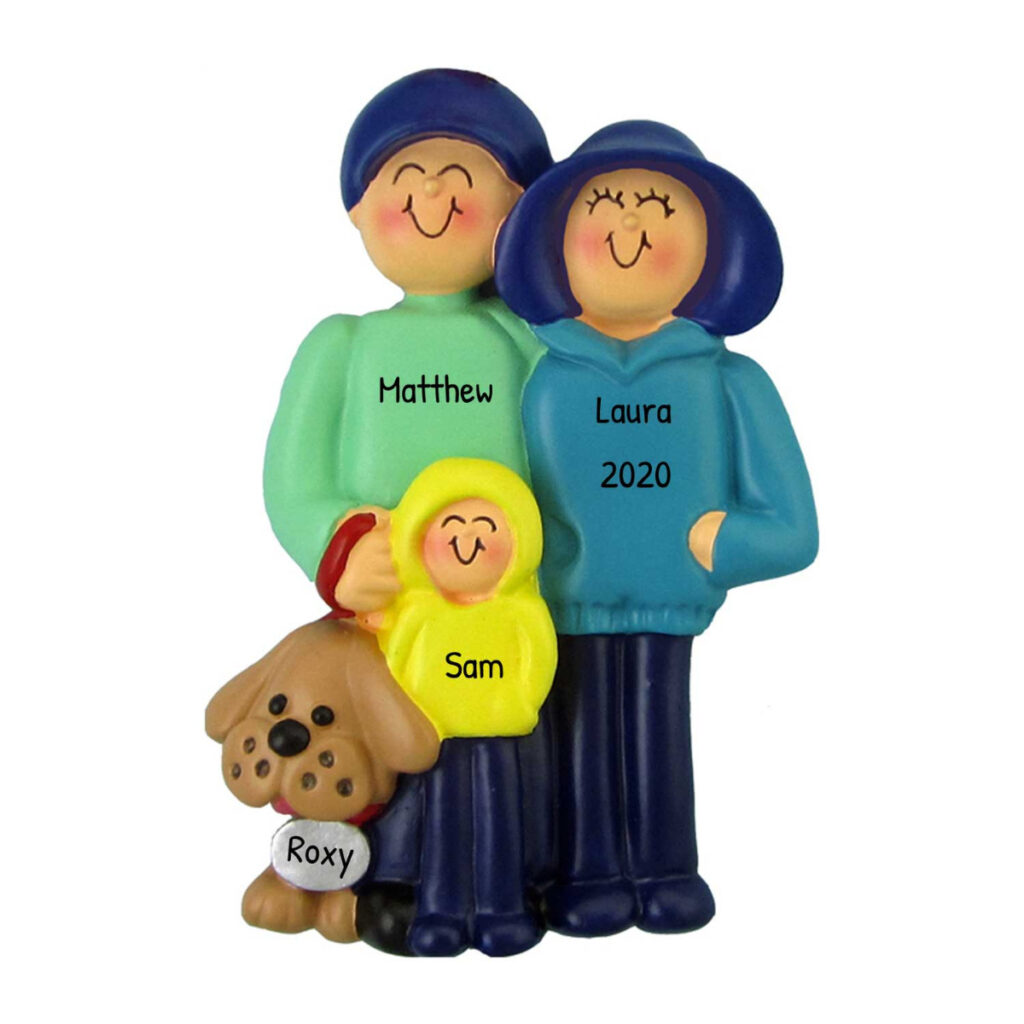
These ornaments can be customized with a person’s name, initials, photos, or even a special message. This type of ornament is perfect for gift-giving since it adds a personal touch to the present.
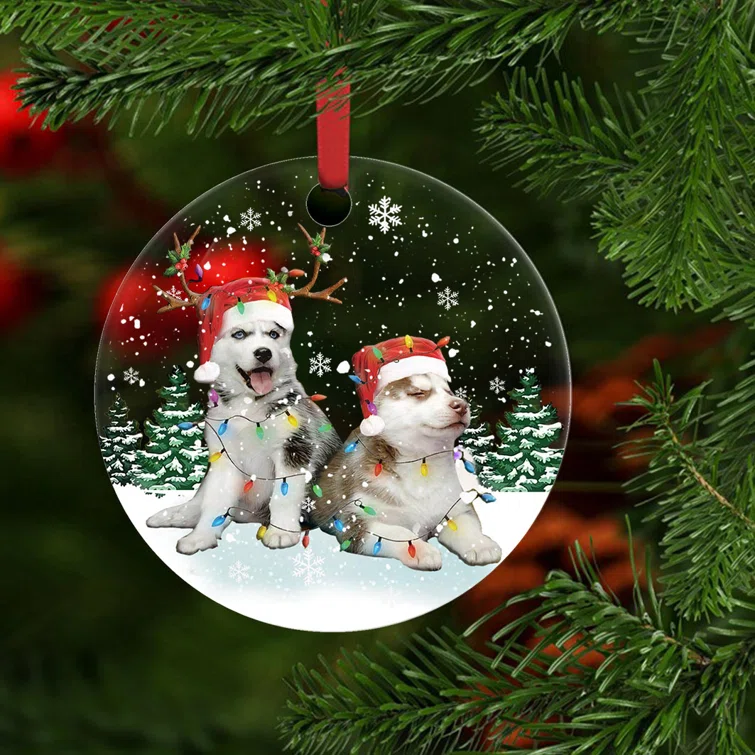
Photo ornaments
Photos are an excellent way to capture special moments. By creating photo ornaments, you can showcase your favorite memories and bring them to life on your tree.
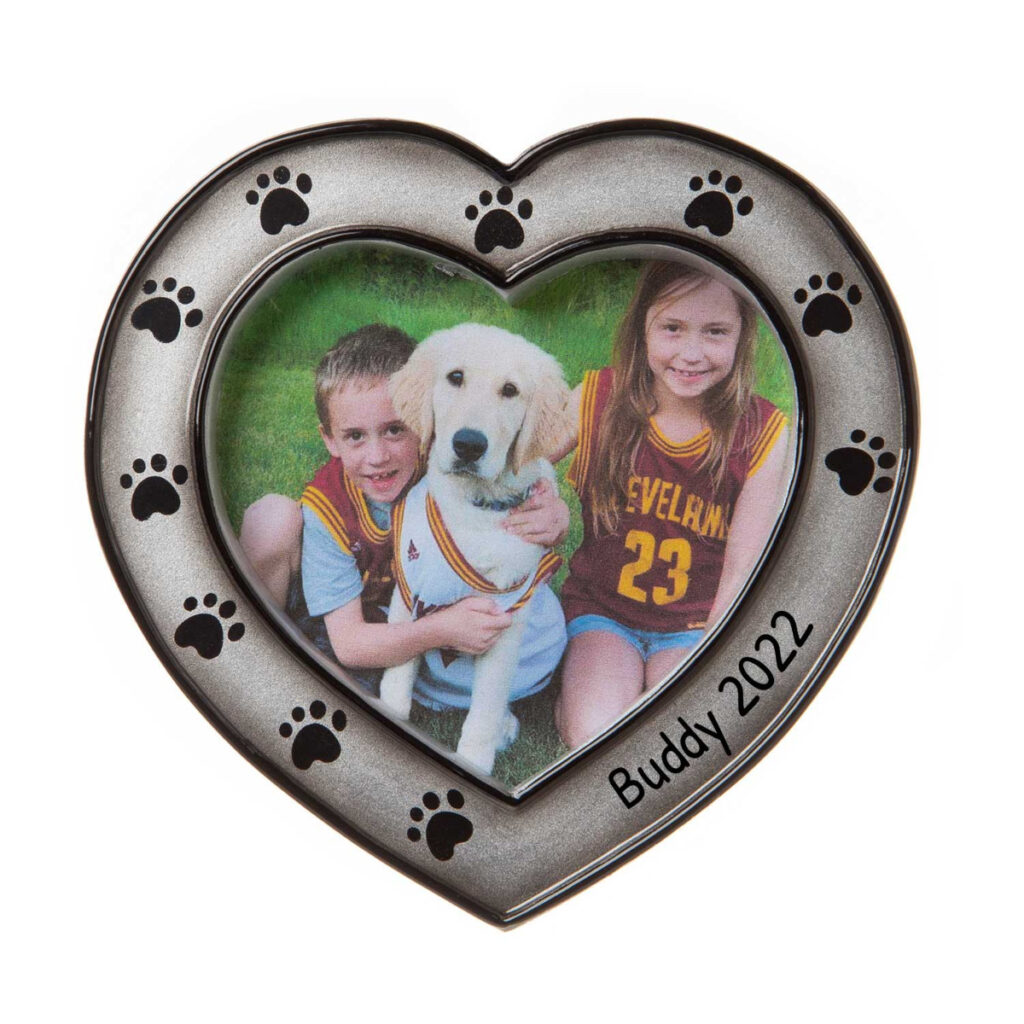
You can use photos of your family, pets, or even your favorite vacation spots to create a truly unique ornament. These ornaments are a surefire way to boost your mood as well.
More Ideas: Best Christmas Photo Ornaments for Gifts
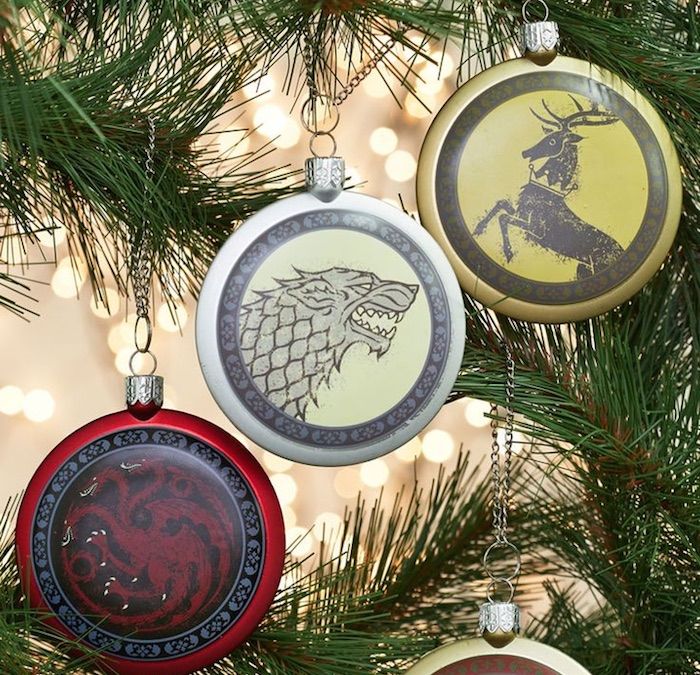
Themed ornaments
Themed ornaments are perfect for those who want to add a touch of their personality to their holiday decor.
Whether it’s your favorite sports team, a special place that you dream of visiting or have visited before, or a beloved movie or book, there are endless possibilities when it comes to themes.
You may even do a collaborative ornament with friends or family members, where each person creates an ornament representing their favorite theme.
Functional ornaments
If you’re someone who loves practicality, then functional ornaments are the way to go. These are ornaments that not only add value to your holiday decor but also serve a purpose.
For example, you could make an ornament that doubles as a key holder or a candle holder. The result is a unique and useful ornament that you can enjoy even after the holiday season.
Related: Best Ideas for Your Baby’s First Christmas Ornament
Creative Techniques for Customizing Ornaments
Ready to get creative? Here are some ways you can customize your ornaments.
Painting and coloring
Whatever materials you’re using for the ornament, chances are, you can easily add some color to them.
This is a great technique to use if you want to create a themed ornament or add a pop of uniqueness to a traditional design. Keep these tips in mind before painting or coloring your custom ornaments:
Consider the material
When painting your ornaments, take note of the material you’re working with because different materials require different types of paint or coloring techniques to achieve the desired effect.
For example, wood ornaments may require a base coat of paint or primer before the final design is added, while glass ornaments may require a special type of paint that is formulated to stick to smooth surfaces.
If you’re painting over a plastic ornament, you may need to use a spray primer first to ensure that the paint adheres properly.
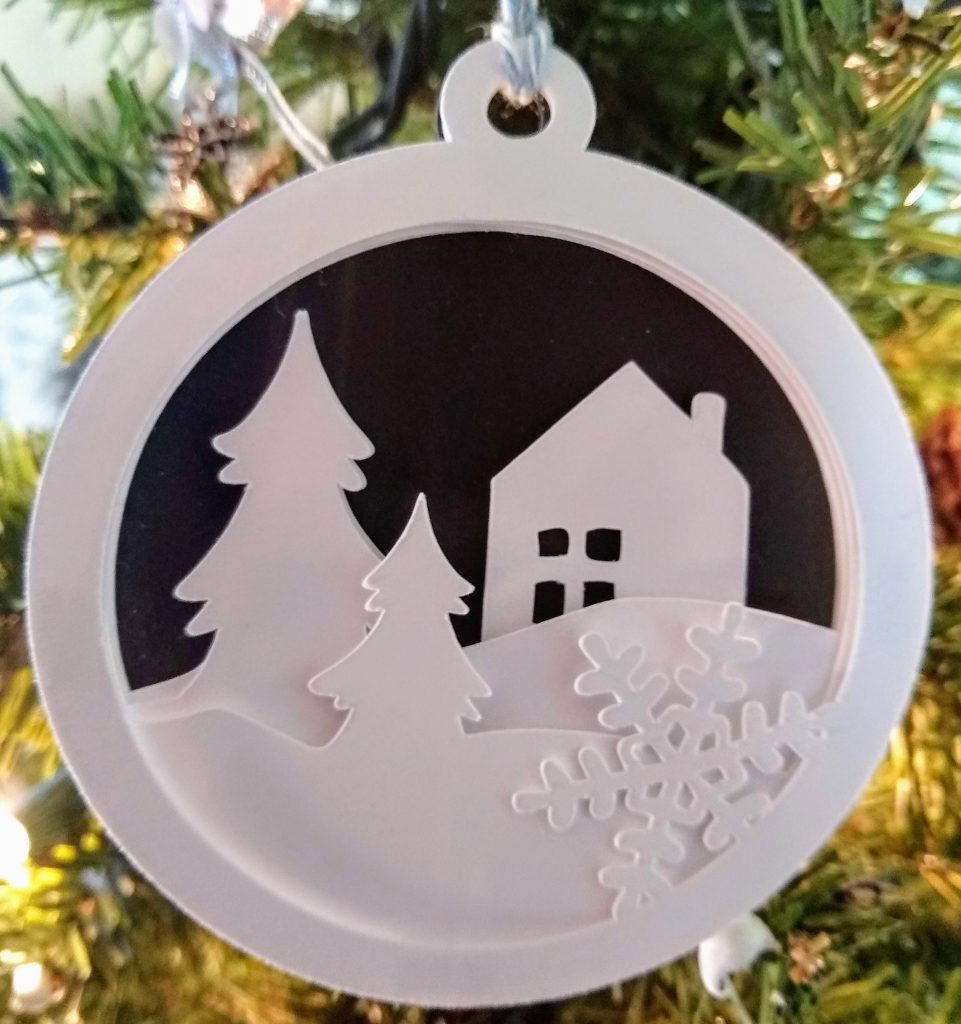
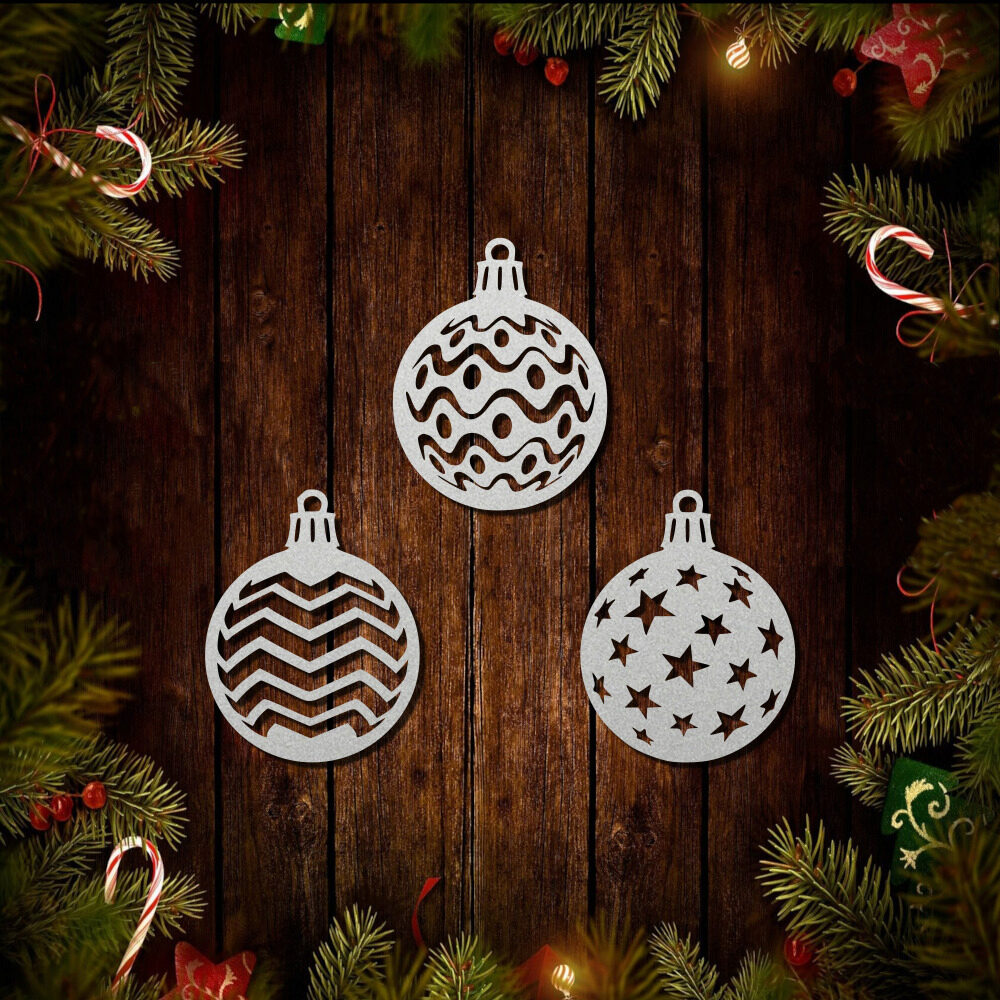
Use a stencil
Not a good painter? Don’t worry. Having a stencil can help you create precise and intricate designs on your ornaments without much effort.
You can use a pre-made stencil or create your own using cardboard or vinyl. Simply trace the design onto your ornament and fill it in with paint or markers.
Set the paint
Once you’ve finished painting your ornaments, let the paint dry completely before handling them.
Depending on the type of paint you use, this can take anywhere from a few hours to overnight. To speed up the drying process, you can use a hair dryer in the low or cool setting.
After the paint has dried, consider setting it to ensure that it doesn’t chip or peel off over time. You can use a sealant for or heat this.
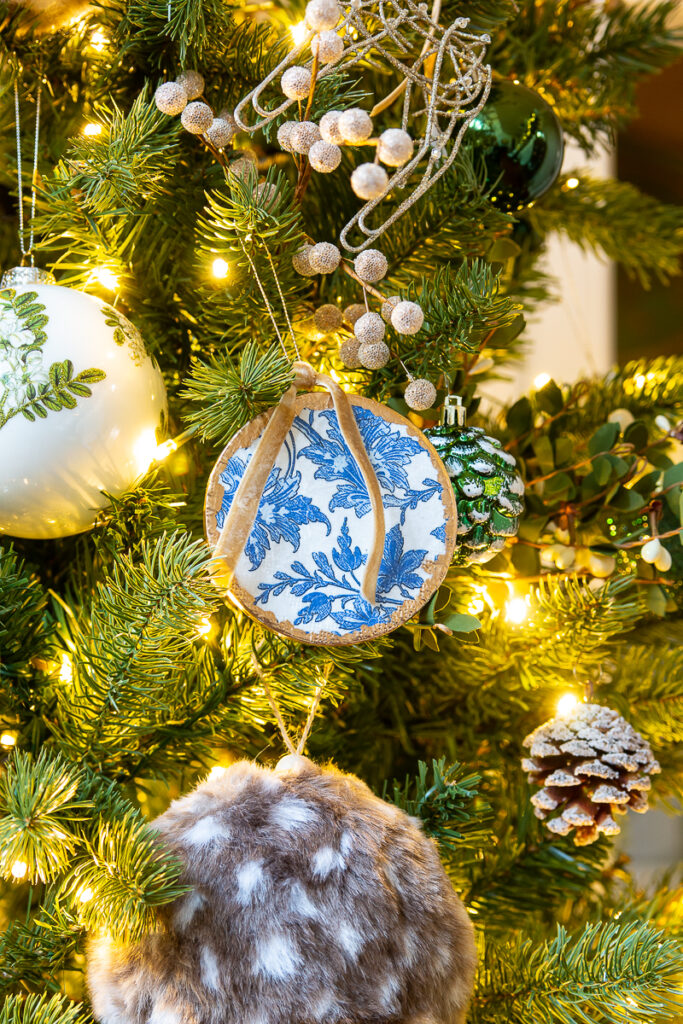
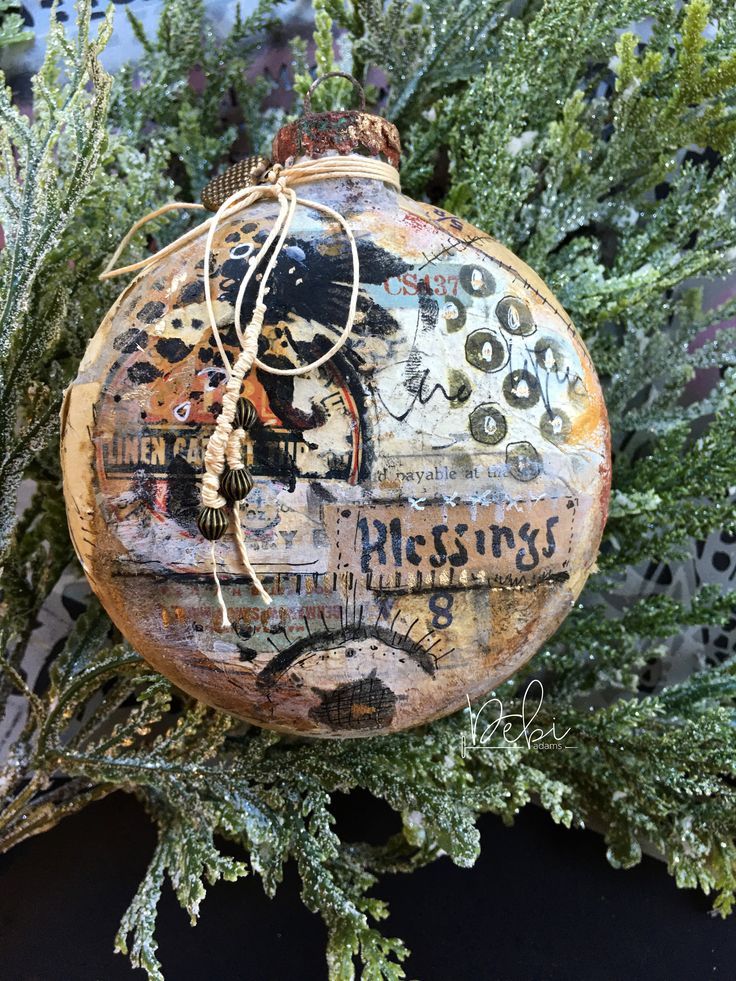
Decoupage
This is a technique that involves layering pieces of paper or fabric onto the surface of an ornament to create a textured and classic look.
Follow these steps to create a decoupage ornament:
Gather Supplies
Start by collecting your materials. This includes paper cutouts, a base object such as wood, glass, or ceramic, decoupage glue or medium, a paintbrush, and scissors.
Pick a well-ventilated workspace and cover it before working for easy cleanup.
Prepare the Surface
One of the first things you need to do is to prepare the surface of your ornament by cleaning it and making sure it’s free of any dust or debris.
This will ensure that the decoupage glue adheres properly. If necessary, sand it lightly.
Cut out your designs
You can use scissors or a craft knife to achieve the desired shapes and sizes. Measure and cut your designs to fit the surface area of your ornament.
Arrange the cutouts
Experiment with the placement of your cutouts on the object before applying glue. This step allows you to visualize the final design and make any adjustments if needed.
Apply the glue
Use a paintbrush to apply a thin layer of decoupage glue or medium to the surface of your ornament.
Then, carefully place your cutouts on top of the glue. Smooth out any wrinkles or bubbles using your fingers or a flat tool to make it look cleaner.
Layer and build
As the glue dries, you can continue to layer on more cutouts and glue, building up the texture and design.
It’s recommended to let each layer dry completely before adding another one. You can even add in other materials such as glitter, beads, or sequins for added texture and sparkle.
Seal it
Once you’ve finished layering on your cutouts and any other materials, seal the ornament to protect it from wear and tear.
Apply a final layer of decoupage glue or use a clear acrylic spray to protect the surface and ensure that your ornament lasts for a long time.
Finally, let the object cure completely according to the specific drying time recommended by the decoupage medium used.
Engraving and Etching
Engraving involves using a tool to carve the design into the surface of the ornament. This can be done by hand using a rotary tool or by using a laser engraving machine for a precise and clean finish.
Tools and Safety
Gather your tools first which includes an engraving material or rotary tool with a carbide tip. Wear protective eyewear and gloves.
Design Preparation
Next, plan your design or pattern. You can either draw the design directly onto the surface of the glass or metal using a marker or apply a stencil for guidance.
Engraving Process
Using the engraving tool, gently and steadily trace along the design lines. Apply consistent pressure but don’t press too hard since this can cause breakage, especially in glass.
For more intricate details, consider using different engraving tips or adjusting the speed of the tool to achieve varying depths and line widths.
Clean Up
Once you’ve finished engraving, wipe away any debris or dust. You may also rinse the object to ensure all fine particles are removed.
Meanwhile, etching on glass or “French embossing” involves using an acid or chemical solution to create a design on the surface of the ornament.
This technique requires safety precautions. Here’s how you can maximize this technique for glass or metal ornaments
Preparation
Get your etching cream, stencils, protective gloves, and a soft brush or sponge ready.
Stencil Application
Apply the stencil or protective vinyl adhesive film to the surface of the glass or metal where you want the design.
The stencil should be firmly attached to prevent etching cream from seeping underneath.
Etching Process
Put on gloves to protect your skin. Using a brush or sponge, carefully apply a layer of the etching cream over the exposed areas within the stencil.
Follow the instructions for application and duration provided by the manufacturers.
Rinsing and Cleaning
After some time, rinse the ornament thoroughly to remove all traces of the etching cream. Remove the stencil and clean the object with water and a mild detergent.
Finally, dry the ornament and inspect your etched design. You can further polish it if needed to enhance the details.
Embossing
This involves creating raised designs on the surface of the ornament. Embossing does not only make your ornament look amazing, but it also makes it more interesting to touch.

Here are some techniques for embossing.
Dry embossing
Dry embossing involves using an embossing folder and a stylus to create raised designs on paper, cardstock, or thin metal surfaces.
You can also use an embossing machine to apply pressure to the folder and create the raised design.
Heat embossing
Heat embossing uses heat and a special embossing powder to create raised designs on a variety of surfaces.
Plan out your design and stamp it onto the surface of your ornament using the embossing ink pad. Be sure to work quickly since the ink dries fast.
Embossing folders
This is perhaps the easiest way to add texture to your ornament. Embossing folders come in a variety of designs and can be used to create beautiful raised patterns on paper, cardstock, and thin metal surfaces.
Simply place your material inside the folder and run it through an embossing machine to apply pressure and create the design.
Layered embossing
Layered embossing involves using multiple layers of embossed designs to create a three-dimensional effect on the surface of the ornament.
Emboss one design first, then place a different stencil or template over the embossed area. Line it up carefully and emboss it again.
Repeating this process builds layers and depth for a more complex design.
Digital design and printing
Perfect for people who prefer a more modern approach to ornament design, digital design, and printing is a great option. Here’s how to get started.
Designing
Using digital design software, create your desired design or pattern for the ornament. This can include images, text, and graphics. Once you’re happy with your design, save it as a high-resolution file.
You may use programs such as Adobe Illustrator, Photoshop, or Canva to create your design. There are also tons of free or paid downloadable designs you can find online.
Printing
There are various options for printing your design onto the ornament.
For example, you can print it onto a special transfer paper and apply it to the surface of the ornament using heat transfer or sublimation techniques.
You may also print it to the ornament directly, but you need to have a special printer for this purpose.
Chances are, you can find a printing company that offers custom printing services for ornaments if you don’t have the necessary equipment.
Mixed media ornaments
Mixed media ornaments involve the use of various materials and techniques to create a one-of-a-kind ornament. The trick with this style is to experiment and have fun with different materials and textures.
You may paint, sew, glue, and even incorporate found objects into your design. The possibilities for mixed media ornaments are endless, so let your creativity run wild.
Don’t be afraid to experiment with different materials and techniques to create a truly unique and personalized ornament.
Just consider the order and placement of your materials to create a cohesive and visually appealing design.
For example, you can create a collage of photos, images, and decorative paper on the surface of the ornament using glue.
You can also add texture by using materials such as lace, ribbon, or fabric.
Layering techniques
Layering techniques involve building depth and dimension on the surface of the ornament by adding layers of different materials such as paper, fabric, or metal.
Here are some ideas to get you started.
Paper layering
Cut out different shapes and sizes of paper and layer them on top of each other to create a 3D effect. It’s recommended to add texture by using patterned or textured paper.
Fabric layering
Cut out different shapes and sizes of fabric and layer them on top of each other. Don’t be afraid to use different types of fabric such as lace, denim, or velvet. Fabric adhesive is key to keep the layers in place.
Embellishment layering
Use different types of embellishments such as beads, sequins, and rhinestones to create a layered effect on the surface of the ornament.
You may even use embroidery techniques to create intricate designs with thread on top of the embellishments.
Incorporating lights or electronics
Incorporating lights and electronics into your custom ornaments transforms it.
Whether you want to make illuminated holiday decorations, interactive art pieces, or simply infuse a touch of magic into your designs, integrating lights and electronics can elevate your ornaments to a whole new level.
LED lights
Before anything else, select the right type of lights and electronics. LED lights are a popular choice for basic projects.
For more advanced ones, consider the use of microcontrollers that let you program dynamic lighting effects and interactivity.
Do not forget to plan the access points for wiring, battery placement, and securely attaching lights or sensors.
Working with electronics and lights
Soldering might be required for certain projects. Concealing wires is also crucial to maintain the aesthetic. Additionally, adding an on/off switch or a remote control can offer convenient control over the lighting.
Keep in mind that LED lights generate heat. Because of this, proper ventilation must be ensured when enclosing them within an ornament to avoid overheating.
Securing all components is equally vital to prevent any potential risks of electrical short circuits.
Before sealing your ornament, test it for functionality, and addressing any issues is essential to ensure they work as expected.
Best Materials for Custom Ornaments
These are the best materials for custom ornaments, depending on the style and technique you choose to use.
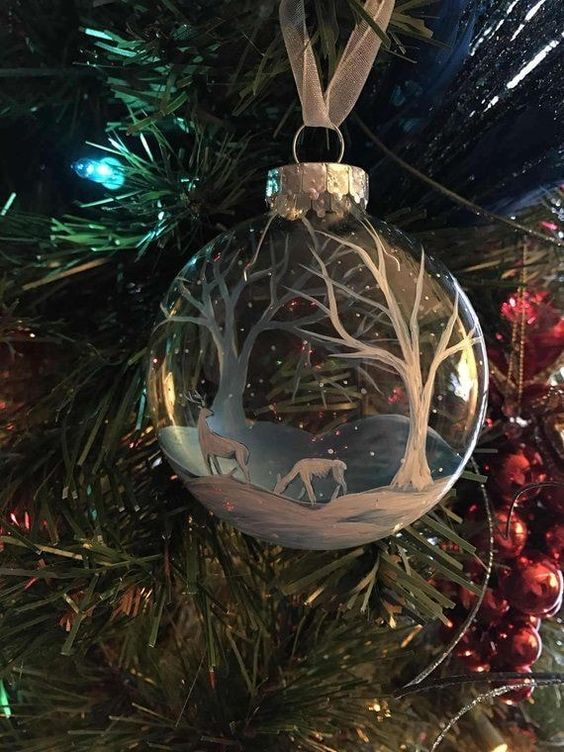
Glass
Glass provides a smooth and clear surface that is perfect for tons of techniques such as etching, painting, and layering. Its timeless and elegant look contributes to the sophisticated feel of any ornament.
The transparent nature of glass also allows light to pass through so it’s amazing if you want to add lights.
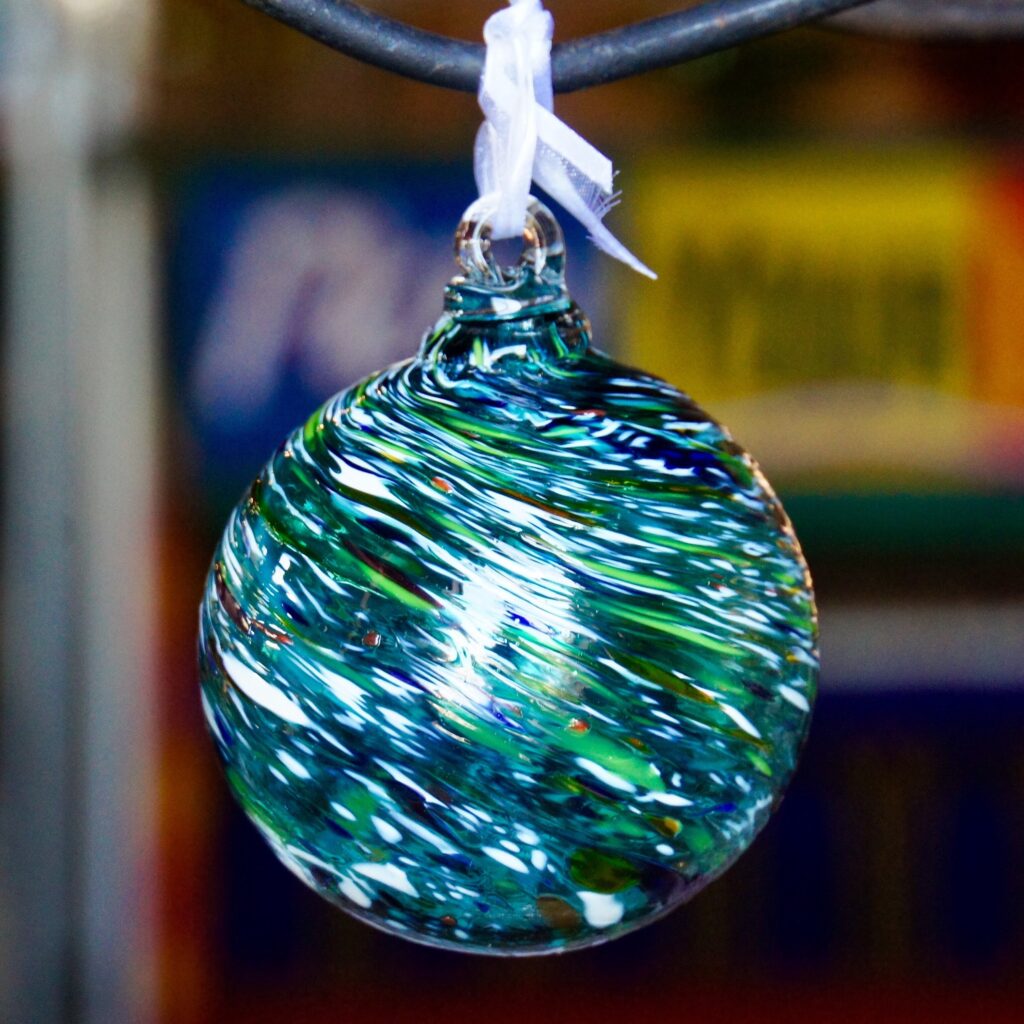
You can either use clear glass or colored glass to create a dreamy effect. What’s more is that glass has a ton of different size and shape options which allows for endless possibilities when it comes to creating custom ornaments.
Finally, glass is durable and when taken care of properly, can last for many years. It’s also easy to clean and maintain, so you don’t have to worry about your custom ornament losing its shine over time.
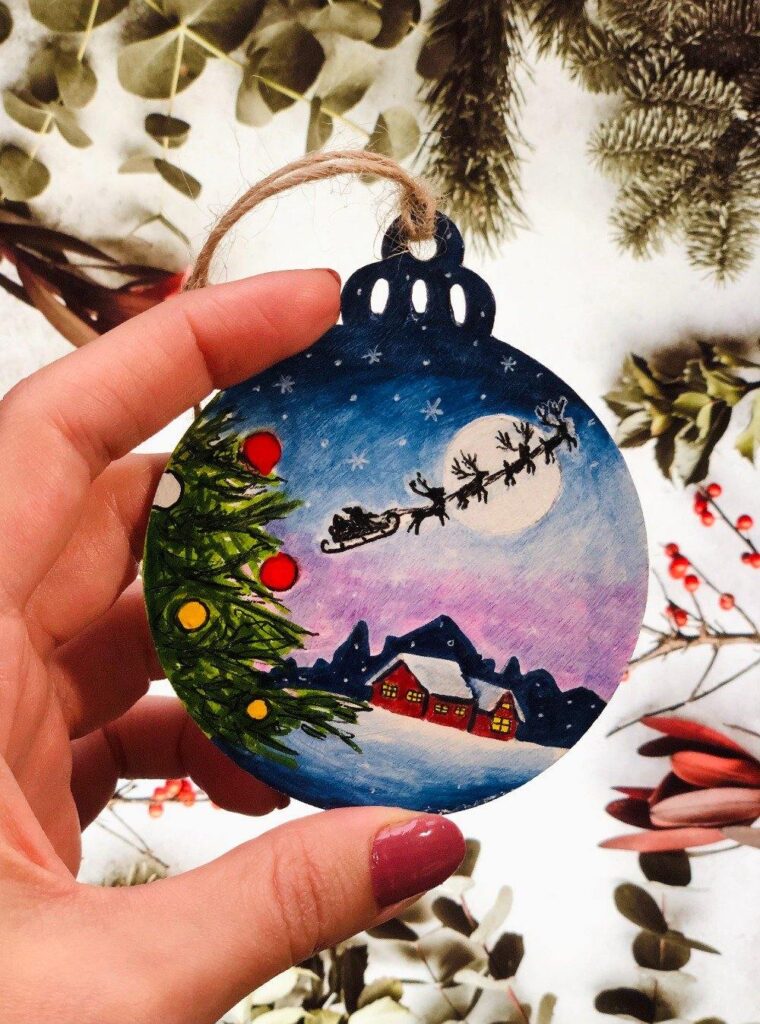
Wood
Wooden ornaments have a rustic charm that makes them perfect for creating a cozy and warm feel in your home.
In addition to its aesthetic appeal, wood is also a sustainable material so it’s an eco-friendly choice.
One of the best things about wood is that it comes in different types and colors with varying textures and grain.
For instance, birch wood has a light color with a smooth and even texture, while oak wood has a darker color with a more pronounced grain pattern.
You can easily highlight the natural beauty of the wood by using techniques such as carving, burning, or staining.
Wood can also easily be carved into different forms like snowflakes, stars, or animals to create a variety of custom ornaments.
Furthermore, it can be combined with other materials such as fabric or metal to create a layered effect.
For instance, you can use a wood base and add layers of fabric or paper to create a mixed media effect.
This is a great way to experiment with different textures and materials, while still maintaining the natural look of the wood.
Metal
Metal is the clear winner when it comes to durability.
This material can withstand wear and tear and maintain its shine for many years, making it an excellent choice for custom ornaments that you want to last for generations.
Some popular metal materials for ornaments include brass, aluminum, and sterling silver. Brass has a beautiful golden hue that adds warmth and elegance to any ornament.
Its malleability also makes it easy to work with, allowing you to create intricate designs and shapes.
On the other hand, aluminum is lightweight and easy to manipulate. It’s ideal for 3D shapes and designs.
Finally, sterling silver is a classic choice for creating timeless and sophisticated ornaments that can be passed down through the generations.
Ceramic
Ceramic is a versatile material that can be molded into a wide range of shapes and sizes. It’s been used for centuries in art and decoration so it’s a classic choice for custom ornaments.
One of the unique properties of ceramic is that it can be painted in a variety of ways to achieve different effects. When glazed, it can have a glossy and smooth surface that looks elegant and refined.
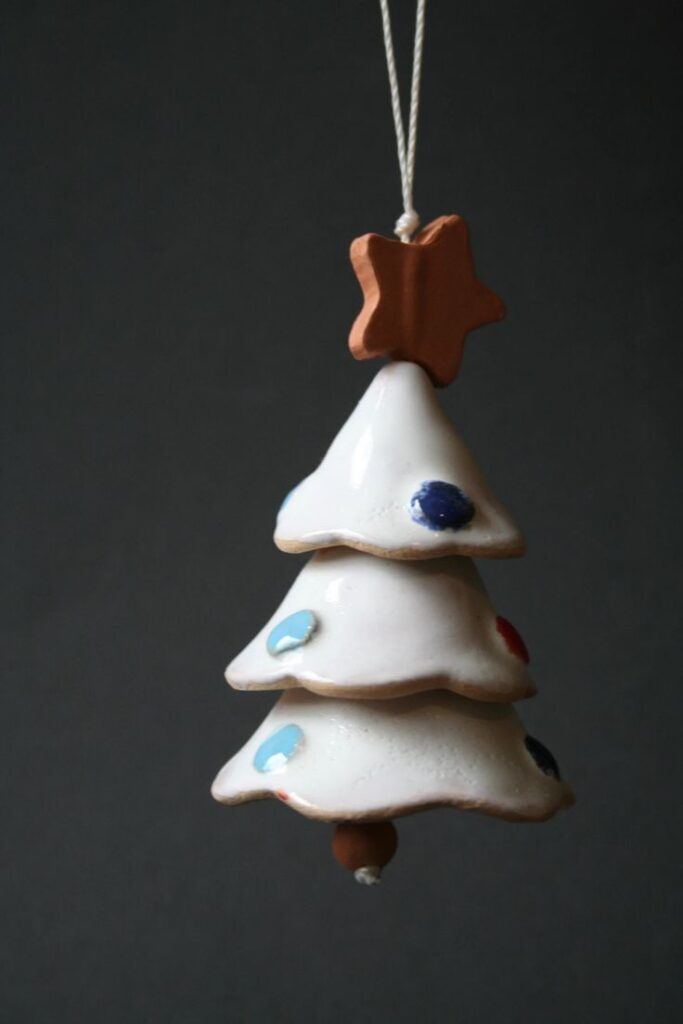
Alternatively, when left unglazed, it can have a rough and textured surface that creates a rustic and natural look.
Ceramics also have the advantage of being able to hold intricate details so you can use it for intricate designs.
Not only that, but it’s also durable and can withstand the test of time. This makes it a top choice for those who want to create heirloom-quality ornaments.
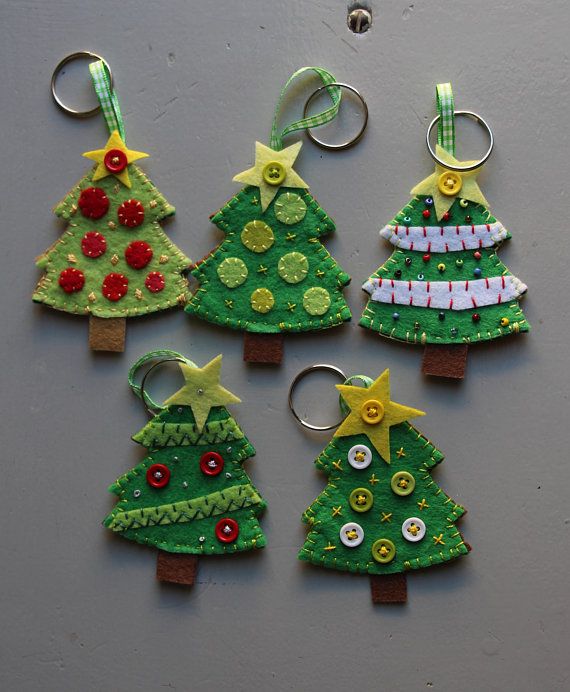
Fabric and textiles
Fabric and textiles are perfect for creating custom ornaments that have a cozy and homely feel.
They’re soft and warm and come in a wide range of textures and patterns that can add depth and interest to your ornaments.
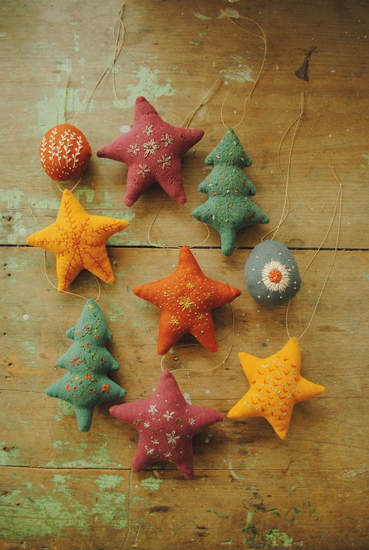
Felt is one of the top choices if you want to make an ornament. This versatile material is easy to work with and comes in a variety of colors and textures.
It’s perfect for creating custom shapes, appliques, and embellishments. You can also use felt to create 3D ornaments that have depth and dimension.
Burlap is another great fabric for creating custom ornaments. Its rustic texture adds a charming touch to any design.
It’s also a durable material that can withstand wear and tear. Burlap can be easily stamped, painted, or embroidered to add a personalized touch to your ornaments.
Finally, cross-stitching is a classic technique that can be used to create stunning custom ornaments.
It involves creating intricate designs by stitching a pattern onto the fabric using colored thread. While it may take more time and effort, the result will be worth it.
Eco-friendly options
For those who want to prioritize their impact on the environment, several sustainable materials can be used to create custom ornaments.
Recycled paper is a great option as it is both eco-friendly and versatile. This material can be molded into different shapes and sizes and can be painted or embellished to create unique designs.
Bioplastics, made from renewable resources such as cornstarch and sugarcane, are also a great sustainable option for creating custom ornaments. They are durable, lightweight, and can be molded into a variety of shapes.
Natural fibers such as hemp, jute, and cotton are also sustainable options for creating custom ornaments.
These materials are biodegradable and can be easily sourced. They also add a natural and rustic touch to any ornament design.
For example, hemp has a rough texture that gives it an earthy look, while cotton can be easily dyed to create vibrant colors. Jute, on the other hand, has a soft and silky texture that adds a touch of elegance to any ornament.
Using sustainable materials not only helps to reduce waste. It also allows you to create custom ornaments that have a positive impact on the environment.
By choosing eco-friendly options, you can feel good knowing your ornaments have a minimal waste impact.